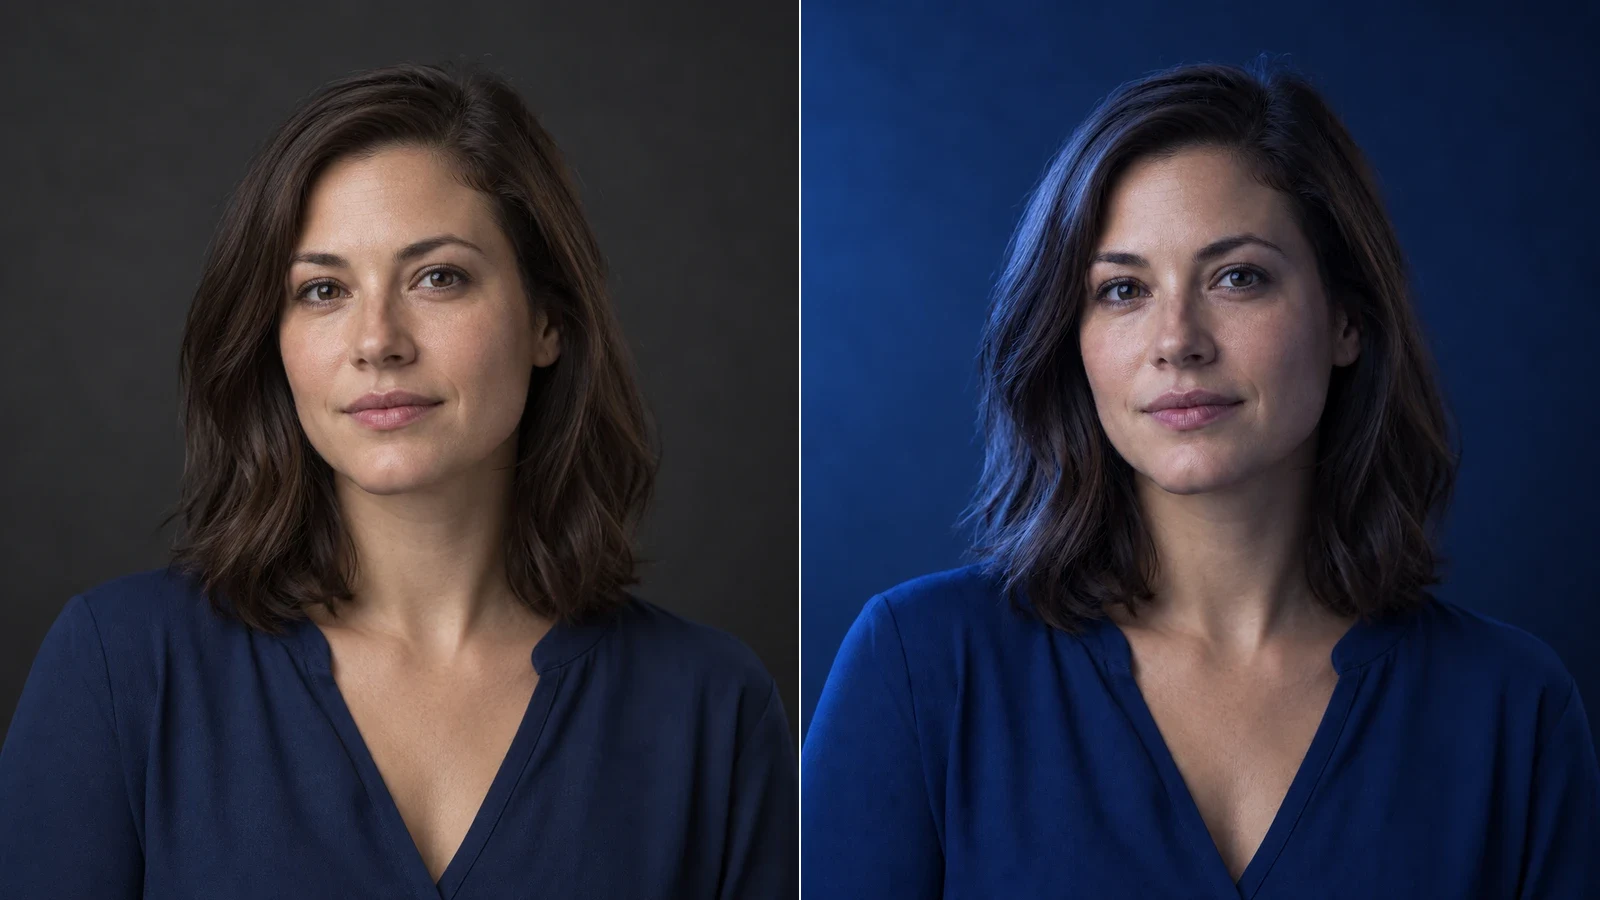
Portrait lighting
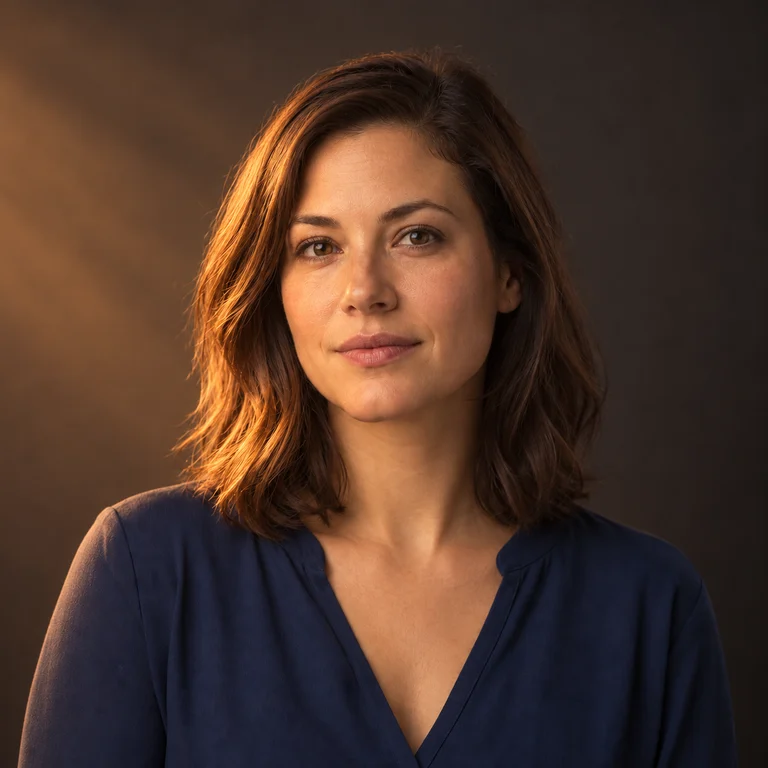
Relight a photoFor a warmer portrait, try Top Right with the Sunrise light template. Compare the face, skin texture, and eye highlights with the source, and check whether the nose shadow follows the new direction.
To relight a photo with AI, upload your image, choose a light direction and lighting template, then generate and compare the result. This guide helps you make those choices for portraits, products, and interiors. Relighting aims to change where light falls and the mood of a scene; increasing brightness alone does not move the light source.
Start with one photo and one lighting goal. Follow these four steps, then use the selection tables below if you are unsure what to choose.
Use a JPEG, PNG, or WebP up to 30 MB. Choose a photo with readable faces, edges, and surface details. A heavily clipped or very dark source gives you less detail to compare after the edit.
Drag the direction sphere or use a direction button. Start with Front for a straightforward comparison, or Top Left or Top Right for angled light. Keep the original windows and shadows in mind when choosing a new direction.
Start with Natural light to assess the direction. Try Sunrise light for a warmer mood, or Blue hour for a cooler one. Keep the direction fixed while comparing templates so you can tell which change you prefer.
Review the displayed credits and generate one image. Output dimensions are chosen automatically. Compare the result with the source before downloading. If something looks wrong, change the light direction or template, or replace the source and try again.
Direction controls where the light comes from. A lighting template sets its color and atmosphere. Choose the direction for the subject's shape, then the template for the mood.
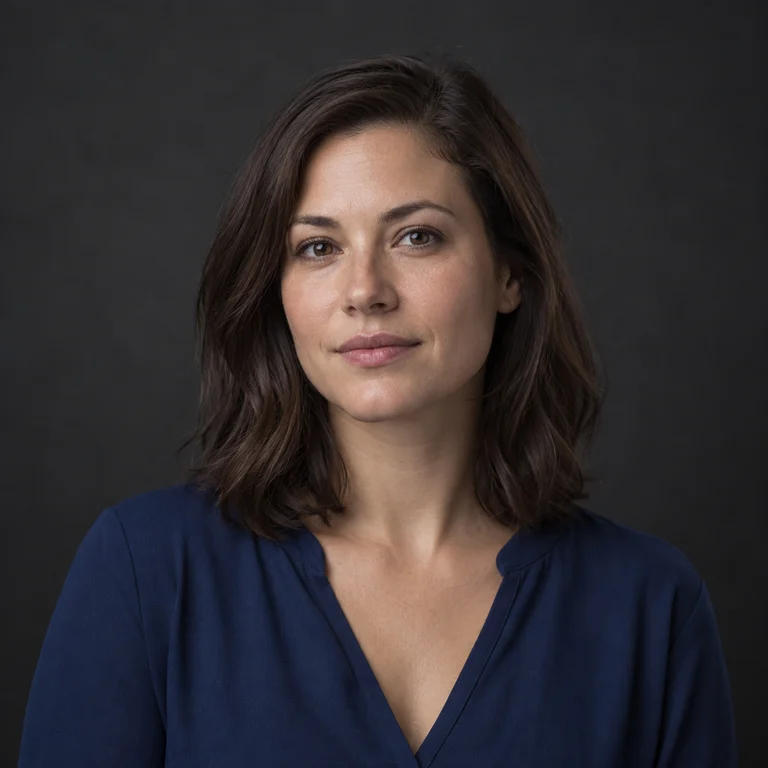
These AI-created illustrations show possible lighting changes, not verified outputs from the tool. The suggestions below are starting points to try with each source photo; your result may differ.
For a warmer portrait, try Top Right with the Sunrise light template. Compare the face, skin texture, and eye highlights with the source, and check whether the nose shadow follows the new direction.
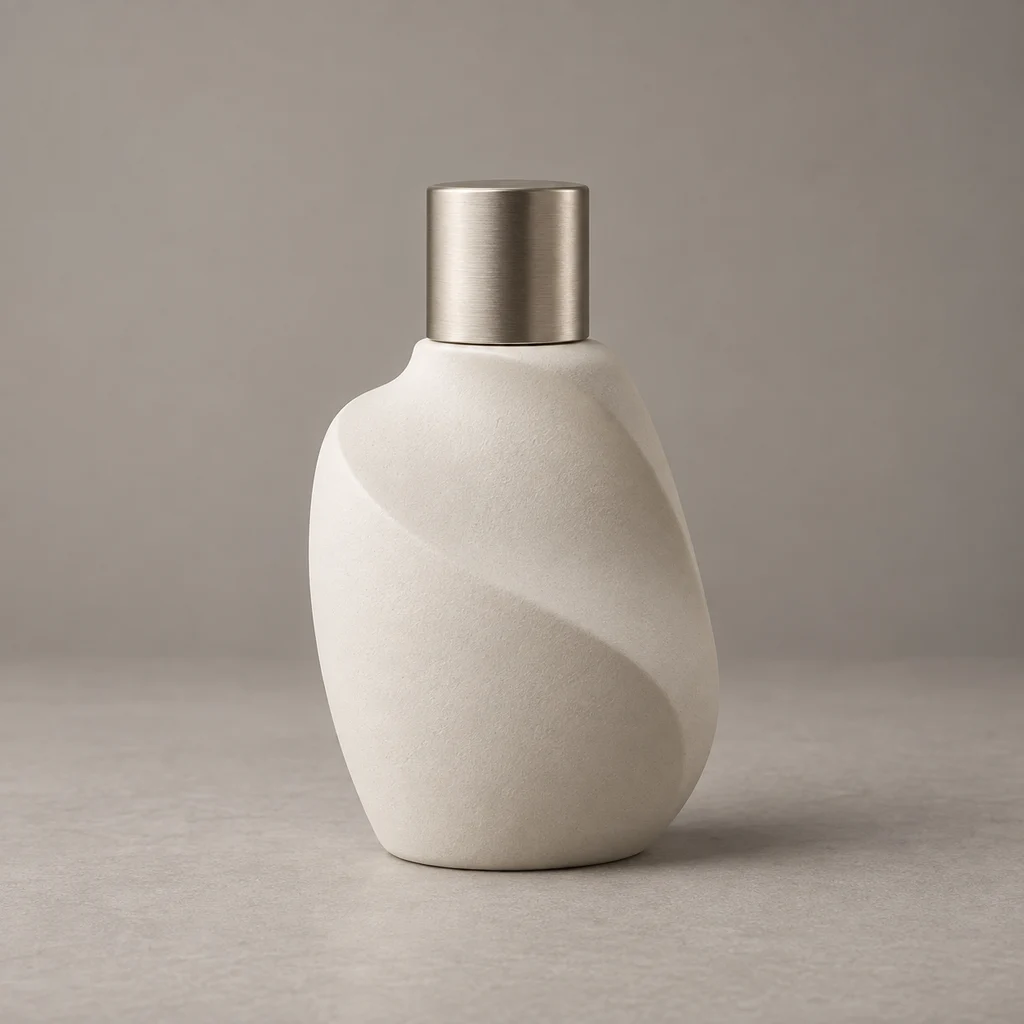
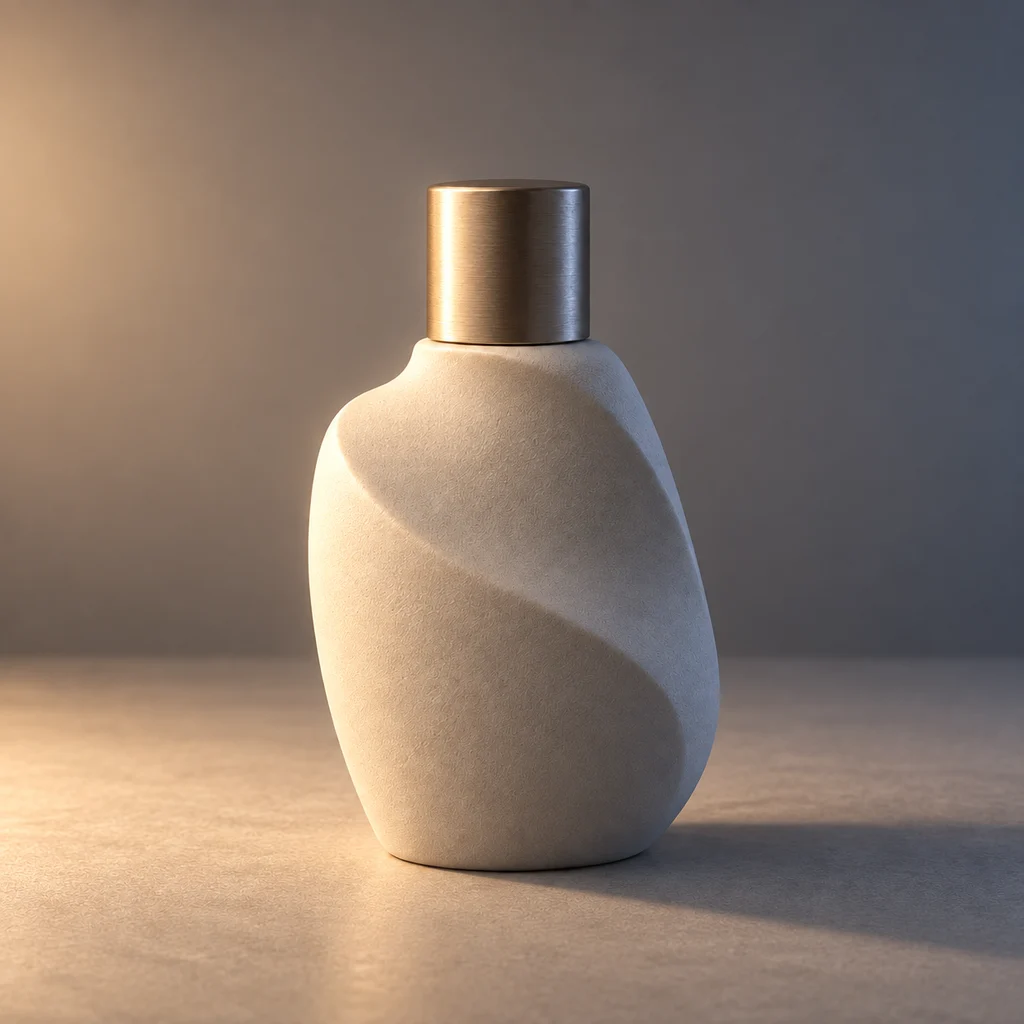
For more definition on a product, try Left with Natural light. Check the bottle shape, original color, and label, then look for reflections and a contact shadow that agree with the lighting.
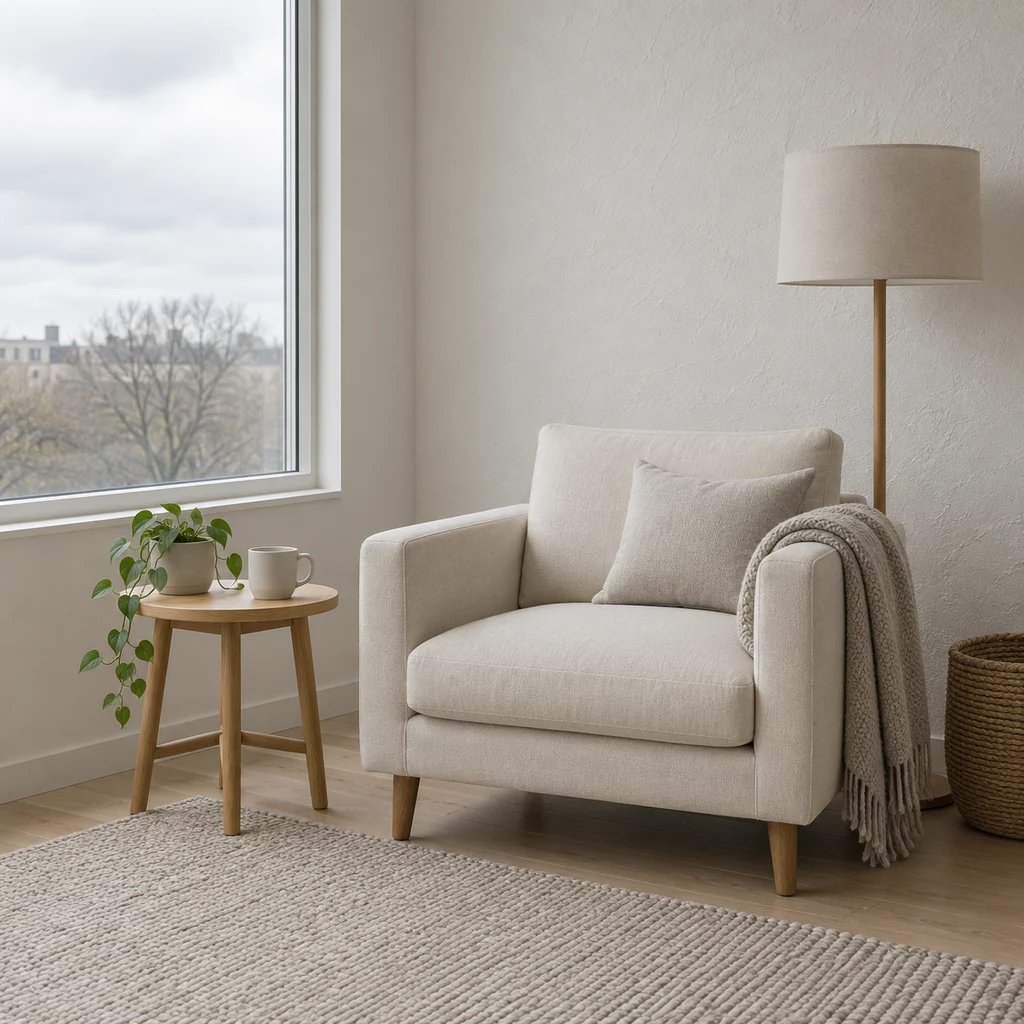
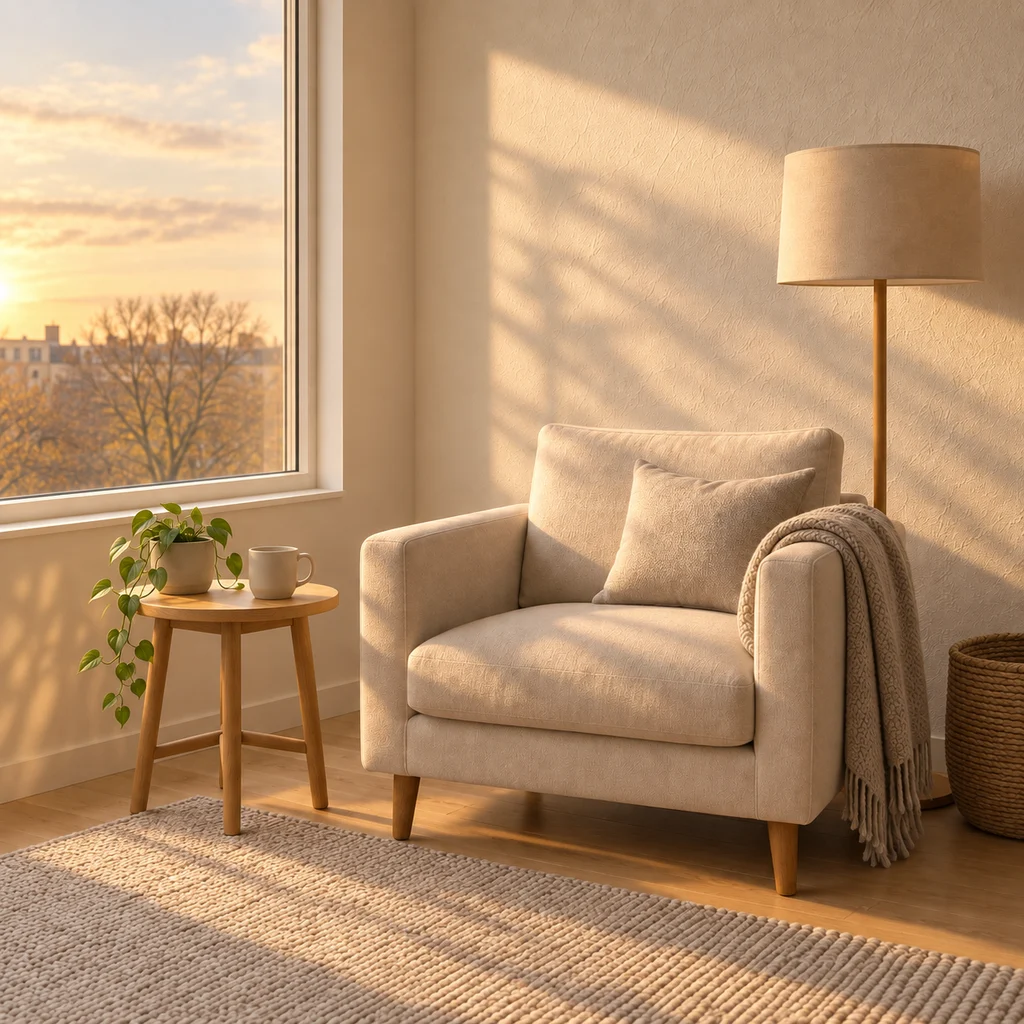
For a warmer interior, try light from the same side as the visible window with Sunrise light. Check furniture edges, floor shadows, and reflections; a new bright area should fit the room's layout.
Compare the source and result at full size. Keep an edit only when both the lighting and the subject details work. Use this checklist before downloading or publishing.
Choose a direction that fits the scene, then a lighting template. Generate and check how the shadows and highlights changed. For a first attempt, use Natural light and change the direction before comparing other templates.
Decide whether you want a brighter image or a different light source. For relighting, adjust direction and template separately. For a small brightness correction, a regular photo editor may be enough.
No. Brightness adjustments change how light or dark the image appears. Relighting aims to change the apparent source direction, shadows, highlights, and lighting atmosphere.
Start with Natural light for a neutral comparison. Once the direction works, try a warmer, cooler, or colored template. Keep the source and direction unchanged while comparing.
Yes, generated edits can alter details. Compare identity, shape, material, color, and composition with the source. Keep only results that meet your needs.
It can attempt to preserve them, but small lettering may change. Check every label and logo at full size; reject any result that changes important text.
Upload one photo, choose a direction and lighting template, then compare the result with the source.